Monday, February 14, 2011

Freeking Charming

A while ago, I posted about finding a unique way to memorialize my cousin Mark at our wedding.  I decided to create bouquet charms using the logo for Freekware, Mark's clothing company.  To me, Freekware symbolizes positivity and love, themes that we definitely want incorporated into our wedding day!

I recently sat down with my glass pendant kit by Annie Howes and put together my bouquet charms.
Ah, a personalized note and some candy.  Love me some Etsy sellers!

One of the greatest things about Annie Howes' kits is that she includes tutorials on her website.  I printed out some Freekware logos and followed the tutorial step by step.

First, I covered the textured side of the glass tile with glaze, which was included in the kit.

I flipped the tile over and pressed down firmly to eliminate air bubbles.  Then, I waited for them to dry.

Once dry, I used crafting scissors and cuticle trimmers to separate each tile.  I applied a coat of glaze to the back of the charm.  Then, I attached the hardware onto the tile with the included glue.

Then, I had my finished product!
{all personal photos}

I have to say, this was probably my favorite DIY project thus far.  It was so nice to think about each of my bridesmaids walking down the aisle with this charm attached to their bouquets.  The sentiment behind it was in my mind during the entire time I was making the charms, and that left a smile on my face.

Are you making something to memorialize loved ones at your wedding?

Friday, February 11, 2011

The Guests Get Creative

Obviously, our wedding has a bit of a whimsical theme interlaced throughout the vintage and Southern and garden decor.  We tried to get the guests on board with the whimsy with a little message in our invitations.  You see, the bottom of the response card read, "Please use the reverse side of this card to provide marriage advice, whimsical doodles, flattering caricatures and/or well wishes!"  The back of the card was blank.  We have now received about a third of our RSVPs, and the entertainment only continues!

We received a special response card in the mail today...from none other than Sister Lioness, who designed the invitations in the first place!  Sister Lioness lives in NYC, and her boyfriend lives in Florida.  I sent one invitation addressed to both of them, and Sister Lioness informed me that they planned to open it "together" via Skype.

Their response card included a YouTube link, so I'll let the video do the talking from here.  You really should watch the whole thing because they are hilaaarious.  But, if you only have a couple of minutes, skip to about 7:25.  That's when you can really start to see the wheels turning inside Sister Lioness' head!


They weren't kidding, either:

That reminds me, Lioness guests.  The other 2/3 of you?  Yeah, you've got two more weeks to get those RSVPs in!  So, yeah!

We'll have to do something fun with the backs of these cards, but what?  Any ideas?

Wednesday, February 9, 2011

Candy & Cupcakes

First, let me begin with an update on our cake situation.  Y'all are AMAZING and I LOVED reading through all of your ideas and advice!  We decided on the family-style option.  We're going to have our servers bring platters to each table of eight.  Each platter will include two cupcakes of each of the three flavors, as well as two slices of groom's cake.  This way, there is one serving per guest (that is, I'm not buying 300 pieces of cake for 150 people!) but people still have options.

Until the cupcakes and groom's cake are served, they will be situated on a little table in the ballroom.  I plan to arrange the cupcakes on a tree like this:

The top tier of the tree will actually be a small cake (in one of our cupcake flavors) that we'll cut.  Instead of cake toppers, we'll be topping each cupcake with one small pinwheel.
 Created by Twirlie Whirlies

By the way, I am so glad I bought those pinwheels instead of trying to make them!  The thought of making 150 of them...eeek!  We assigned a different color combination to each flavor of cupcake, so we thought it would be a good idea to include a little key or legend for our guests.  We also wanted to include our Knightro-shaped groom's cake in the legend.  I threw this thing together on Pages, printed it on card stock, and placed it inside one of two 8x10 frames that I found at an antique store.
Lion Corgi approves!

We also ordered larger matching pinwheels to decorate our candy buffet, which we plan to fill with green and pool blue candy.

I made a little banner for the candy buffet out of baker's twine and card stock that reads "Love is Sweet."  Maybe we'll drape that between two larger pinwheels?

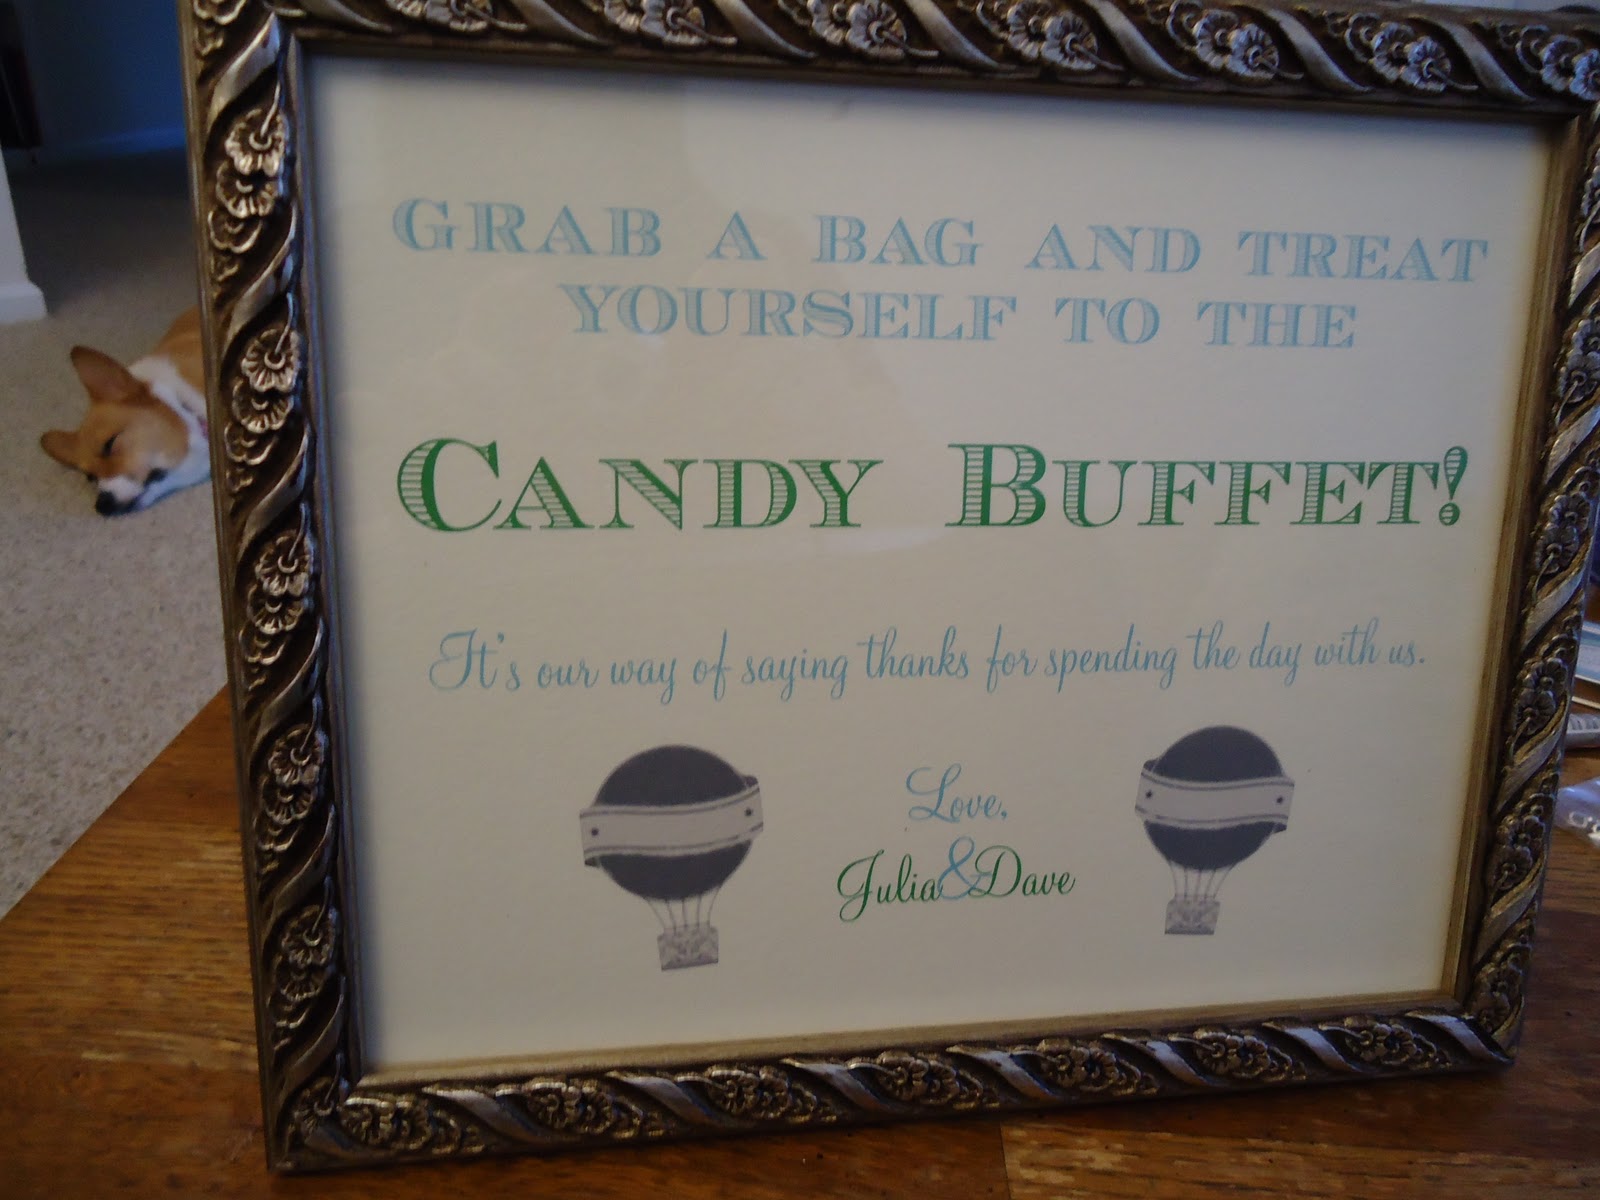
I filled the other frame with this sign that I made:
Lion Corgi is now taking a boredom nap.

Keeping consistent with our balloon motif, I made these little stickers to seal the bags our guests will fill with candy:

I feel like the pinwheels and signage carrying from the cake table to the candy buffet will help pull the theme together.  What did you do to make your reception theme come together?

Saturday, February 5, 2011

Our Moment in the Spotlight

Sometimes, you find a vendor that you just click with.  They get you, they get what you're about as a couple, and they get what your wedding is about.  I've felt that way about my florist for a while now, and I decided recently that I also feel this way about my videographer.

Our videographer creates "love stories" out of their wedding videos.  They try to learn as much as they can about the couple so that their wedding video really captures their personalities.  They accomplish this by interviewing couples a couple of months before their wedding.  This provides footage of the couple talking about their relationship and their future, but it also gives the videographers the opportunity to get to know their clients' style.

Our videographers recently contacted us to schedule such an interview.  They told us to choose a location that represented us well.  The baseball fans that we are, we immediately thought of Turner Field.
With Sister Lioness at the ballpark...and we're all wearing Polo...weird.

It apparently costs $200 to use Turner Field for something like this.  That wasn't in the budget, so we nixed that idea.  Next, we thought it'd be fun to use Piedmont Park.  It's one of our favorite places in Atlanta, and we take Lion Corgi there often.

Unfortunately, the forecast for the day of our shoot didn't look as pretty as the weather in that photo.  It was supposed to rain.  In biblical proportions.  This forced us to think outside the box a bit.  Maybe instead of having a fun setting, we could be doing something fun!  Hmm, what do Mr. Lion and I like to do together?  Lots of things, really, but one favorite activity stood out in my mind...

We like to cook.  And eat.  Papa Lioness was able to pull some strings for us, and he got us a suite at the Residence Inn Dunwoody for a couple of hours.  We packed up some of our favorite kitchen toys, some ingredients, and the recipe for Martha Stewart's Blueberry-Lemon Bundt Cake and headed to the hotel.

The decor of the hotel room made for a much better set than the decor of our apartment.  Our apartment has lots of muted, natural colors, which I like.  The kitchen is tiny and has horrible fluorescent lighting, which I do not like.  The hotel room had stainless steel appliances in the kitchen, simple modern decor, and bright colors throughout.

The crew showed up and set up shop with fancy cameras, lighting stuff, and sound stuff (clearly, I know all of the technical terms).  I was a little nervous about answering the questions awkwardly, but they really put us at ease.  We both felt pretty comfortable around them; it just felt like we were having a conversation.  They interviewed us together first, and asked questions like "How did you meet?" and "Does your wedding venue have any significance to you?"
Sorry about the iPhone quality!

They wanted to interview us individually too, but first they had to rearrange our "set."  In the meantime, Mr. Lion and I got to baking while one of the crew members shot us being cute in the kitchen.  I wish I had pictures of this, because I promise we were adorable :)

We stuck our cake in the oven, and I sat down for my individual interview.  They asked me about my "somethings," how I found my dress, and I told the story of our proposal.  Mr. Lion sat down for his interview next.  He talked about how he asked my dad for permission, how he thought he'd react when he first saw me walking down the aisle, and he told his proposal story too.  The interesting thing is that our proposal stories were totally different!  I focused more on the surprise, and Mr. Lion focused more on how nervous he was that it was going to rain.

The timer for the cake dinged immediately after Mr. Lion finished his interview.  They turned the lights off and put the equipment away as we waited for the cake to cool.  Then, we gave each of the videographers a slice and took the rest to the front office to thank them for their generosity.  Needless to say, they were pretty psyched!

We had so much fun.  Not only did we get to ham it up in front of a camera, we got to reminisce about our history and gush about our future.  I just think it's so cool that our videographers do this to get to know us a little bit.  It's kind of like taking e-pics with your photographer before the wedding; it gives you a chance to get used to each other, which I think is a great bonus!

Do any of your vendors have some kind of unique twist that you were excited about?

We Want a Shrubbery!

Ten points if you get that reference!  And if you don't, I strongly urge you to play the video below and educate yourselves!

Anywho.  Remember my obsession with topiaries?  Since we're getting married in a garden, these beauties fit in perfectly with our decor.  We're using these placecard holders:

When our guests first walk into our reception, they will be greeted with a table filled with these placecard holders.  We also wanted the table to have some sort of banner on it with larger topiaries, like this:

We decided to go the DIY route for the larger topiaries.  Which mean...time for another tutorial!  Yay!

Materials
  • Moss-covered balls (you could get Styrofoam balls and cover them with moss, but I found moss-covered balls at Michael's)
  • Two thick wooden dowels (or one long dowel and a saw)
  • Brown paint
  • Two terra cotta pots
  • Dried moss (to fill the pots)
  • Ribbon/rope/baker's twine
  • Card stock
Instructions

Most dowels come in that awful saw-dust color, so the first step in this process is to paint them a more natural bark shade.

Next, fill the pots with moss and place the dowels in the pots.

As you can see from the picture, it might be a good idea to do this project outside!  The moss shed, and I got lots of dirt everywhere.  That would not have been fun to clean out of carpet!

Next, poke a hole in each ball with scissors.  This will make room for the dowel.

Stick the moss-covered ball on the dowel and twist to secure.

For the banner, I printed out our names, with the letters spread out.  I used my 2″ tag punch to punch out the letters.  Then, I taped each tag to some baker's twine and tied each end to a "trunk."

Oh hi, Lion Corgi!

{all personal photos}

The entire project took about 7 minutes...woot!  How has your wedding's setting inspired your DIY projects?

Thursday, February 3, 2011

Getting My Hair Did

Remember my hair inspiration post?  Remember how I wanted to look like a pin-up crossed with an Old Hollywood movie star?  Well, I had my hair trial!  Please excuse me if my face looks a little rough in some of these pictures...it was the day after my bachelorette party!  Why did I decide to schedule my hair trial during what would inevitably be a hangover?  Well, who knows!
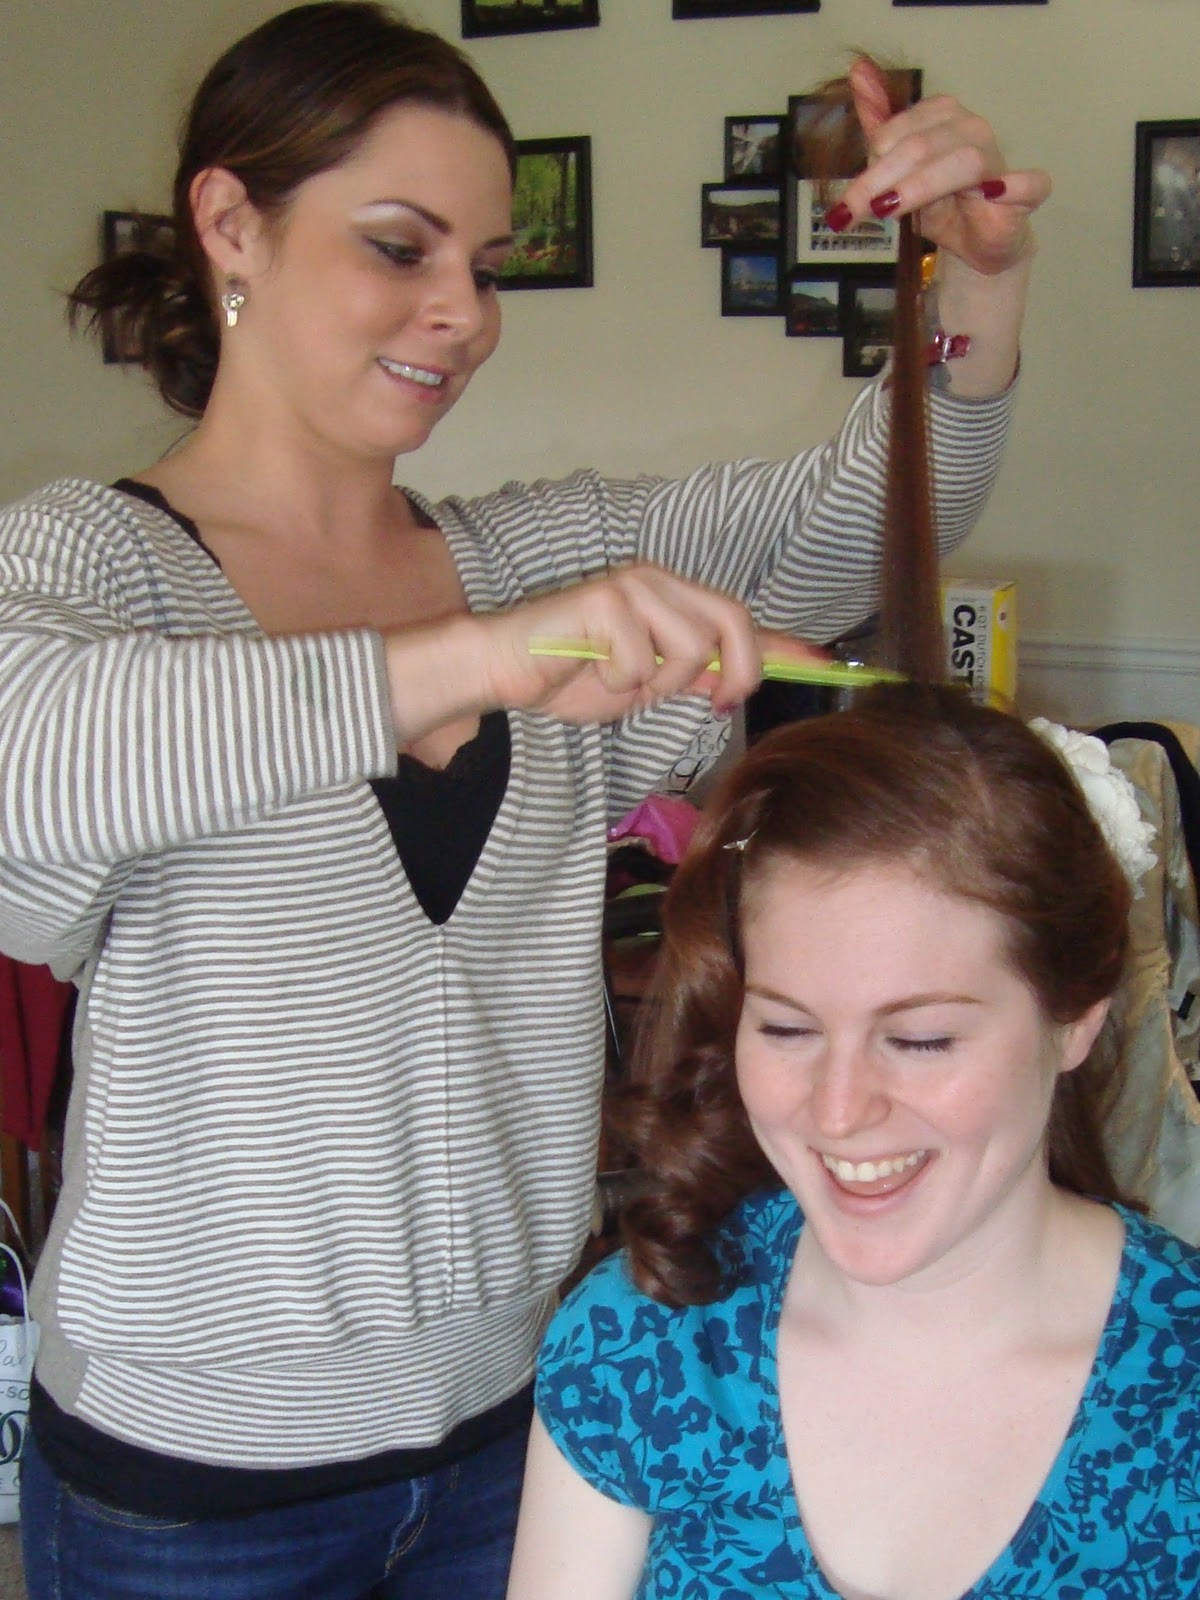

Here I am showing my stylist some inspiration pictures:
"You see, I write for this wedding blog and so I wrote one post all about this one hairstyle and so all of my pictures are right here on this one webpage and I want this part of my hair back a little bit and also I like run-on sentences."

Curling is fun.

Teasing is fun, too.

The finished product:

Mama Lioness admiring my new 'do:

We might have to work on the veil a little...

How did your hair trial go?  Were you pleased with the results?

Tuesday, February 1, 2011

Lioness Invitations: The Breakdown

Now that you've seen the final reveal of our DIY invitation suite, I wanted to break them down for you!

Here's what we bought:

Materials for the Invitations and the Response Cards
Materials for the Information Tags
Additional Materials
I had already bought many of these materials for our Save the Dates.  After subtracting those previous purchases, the grand total we spent on our invitations was $210.12, or $2.10 per invitation.  Please note that this total includes postage, but does not include ink.

Here's how we put them together:

The Invitations and the Response Cards

After Sister Lioness worked her Photoshop magic, we scaled the design so that several would fit on one page of cardstock.  The invitations were 5 x 7", so we could fit two on one page.  The response cards were 3 1/2 x 5", so we could fit four on one page.  We then printed for several hours and had a cocktail.

Then, we used the paper trimmer to separate the invitations and response cards.  This part required several cocktails!  My advice (and I can NOT stress this enough!) is that if you are going to design and print your own invitations, do not choose a design that bleeds.

As you can see from our design, the grass goes all the way to the bottom and the tree goes all the way to the top.  This required some pretty precise trimming, and resulted in one massive headache!

Finally, we rounded off the corners of each card with the corner punch.

The Information Tags

We were able to fit ten tags on one sheet of paper.  We printed out several sheets, and started punching with the tag punch.  We then used the little heart punch to create the hole in each tag.  Then, we embossed the balloon on the edge of each tag.

Then, we used about a foot and a half of baker's twine to tie the package together.  We only had one spool of baker's twine, and we still had some leftover after 100 invitations!

The Labels

We were able to fit five wraparound labels on each full sheet of labels.  We printed, then used the paper trimmer to split them up.  We placed them on each invitation, stuffed the envelopes, and sent them on their merry way!


We probably spent about two full days putting these bad boys together.  They were our most involved DIY project yet, but they were totally worth it!  I'm really happy with how they turned out, and they definitely came out under budget.  What is/was your biggest DIY project?