
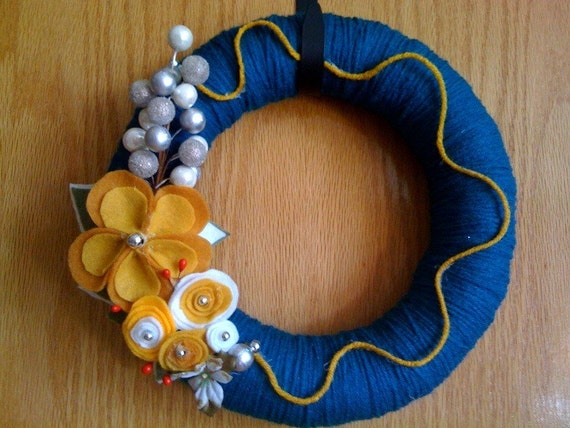
I've noticed that yarn wreaths are all the rage right now on Etsy. You know, like this one:
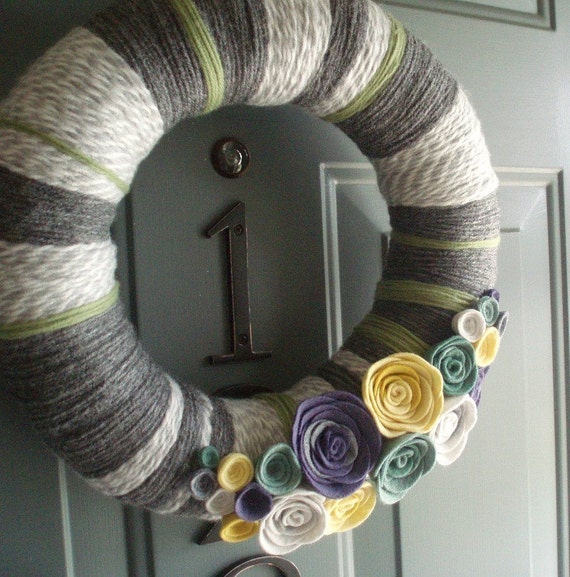
And this one:
I wanted to make a Thanksgiving version. Okay, okay, maybe that's not wedding-related. But with the modern rustic design, some brides might be into this kind of thing! Just add a monogram and I'd say it's wedding-ready:
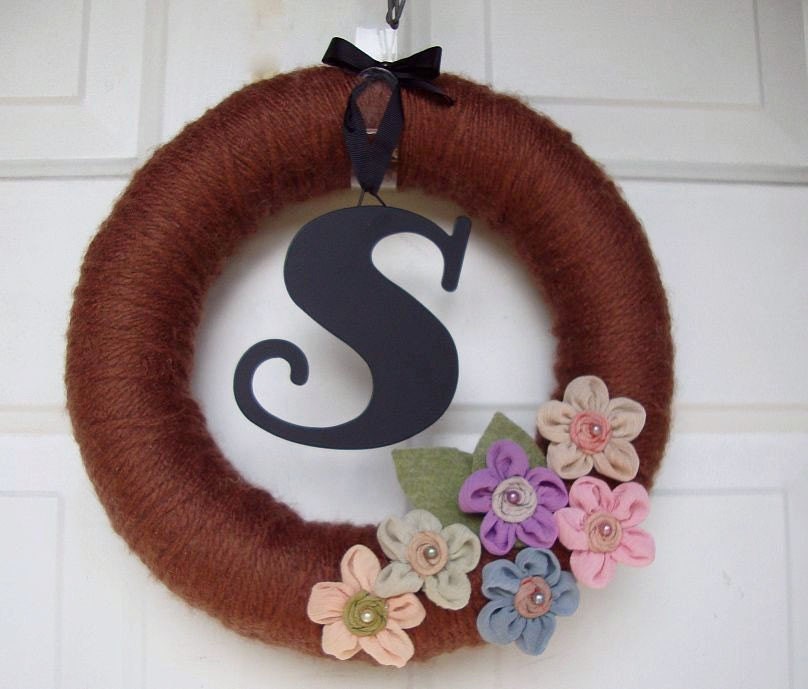
So, here's how I made my Thanksgiving Yarn Wreath. Feel free to do the same for the holidays, or for your wedding!
Materials:
- Glue gun
- Foam wreath
- Yarn (thicker is better; I like the kind that changes colors so you don't have to keep tying it off and starting a new wrap)
- Fabric for flowers (I used 1/8 yard in two colors)
- Beads for fabric flowers (optional)
- Decorative letters (optional)
- Other elements of decoration (i.e. buttons, sequins, etc.)

Not amused, apparently.
Secure the end of the yarn with your glue gun.

I decorated my wreath with two types of flowers. For the first kind, cut strips about 1.5 inches thick.

This part's kind of hard to describe. You want to bunch the fabric around in a zig zagged circle, gripping each fold between your thumb and index finger.

Once the full circle is formed, secure by sewing or with the glue gun. I cannot sew, so I opted for the latter:

Add a bead to the center of the flower if you wish.

For the second kind of flowers, cut four 2-inch circles.

Wow, I am really bad at cutting circles! Next, fold each circle into a semi-circle and overlap one on top of the other, like a pinwheel.

Pinch the middle of the four overlapping semi-circles and secure with the glue gun.

Attach your decorations to the yarn wreath and proudly display!

{all personal photos}
For this and other fabulous tutorials, visit Kelly Hicks Design! What DIY projects have you been working on?


No comments:
Post a Comment